To safely do a cryo facial at home using household items, start by choosing gentle, reusable options like gel packs or frozen spoons, and avoid raw ice or unsealed frozen objects that can cause frostbite. Always clean your skin thoroughly, wrap cold packs in cloth, and limit cold exposure to 2-3 minutes while monitoring your skin for numbness or redness. Proper prep, safe tools, and awareness are key—continue to explore how to perform treatments securely and effectively.
Key Takeaways
- Use household items like sealed ice packs or frozen spoons, wrapped in cloth, to prevent direct skin contact and reduce frostbite risk.
- Limit cold exposure to 2-3 minutes per session and monitor skin for numbness, redness, or discomfort.
- Always cleanse skin thoroughly before treatment and avoid applying ice directly to the skin.
- Rewarm skin immediately if you notice excessive numbness, pain, or signs of overcooling.
- Follow proper procedures, avoid raw or unsealed frozen items, and stop treatment if adverse reactions occur.
Understanding Cryo Facial Benefits and Risks
While a cryo facial can offer various skin benefits, it’s important to understand the potential risks involved. Cryo facial advantages include reducing inflammation, tightening skin, and boosting collagen production, which can lead to a more youthful appearance. However, potential risks should not be overlooked. Cold exposure can cause skin irritation, frostbite, or nerve damage if not properly managed. Using household items for cold therapy may increase these risks, especially if the temperature drops too quickly or remains too cold for too long. It’s essential to weigh these benefits against the possible dangers and proceed with caution. Educate yourself on safe practices, and never ignore signs of discomfort or adverse reactions. Understanding both sides helps you make informed decisions about your skincare routine.
Choosing Safe Household Items for Cold Therapy
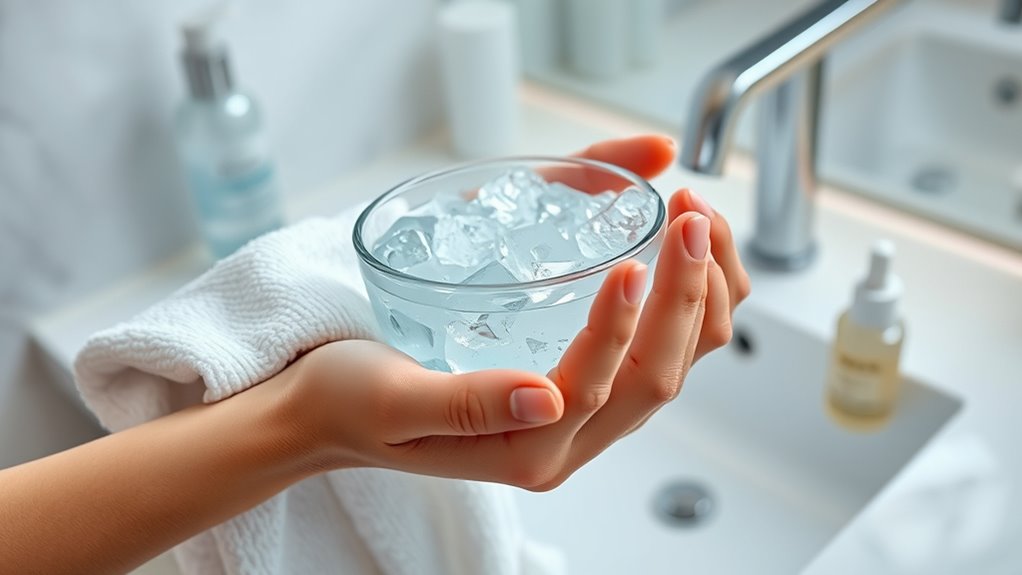
To guarantee safe cold therapy at home, it’s important to select household items that can provide effective cooling without causing harm. When choosing items, consider ice cube safety and household item selection carefully. Here are four options:
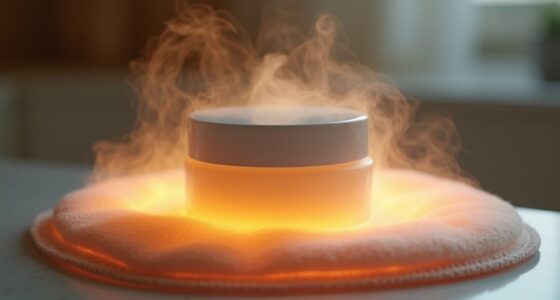
- Reusable gel packs – they stay cold longer and are flexible.
- Frozen spoons – easy to freeze and gentle on skin.
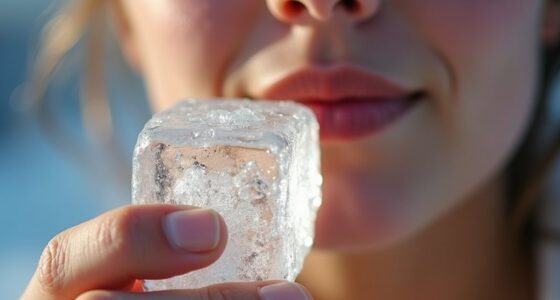
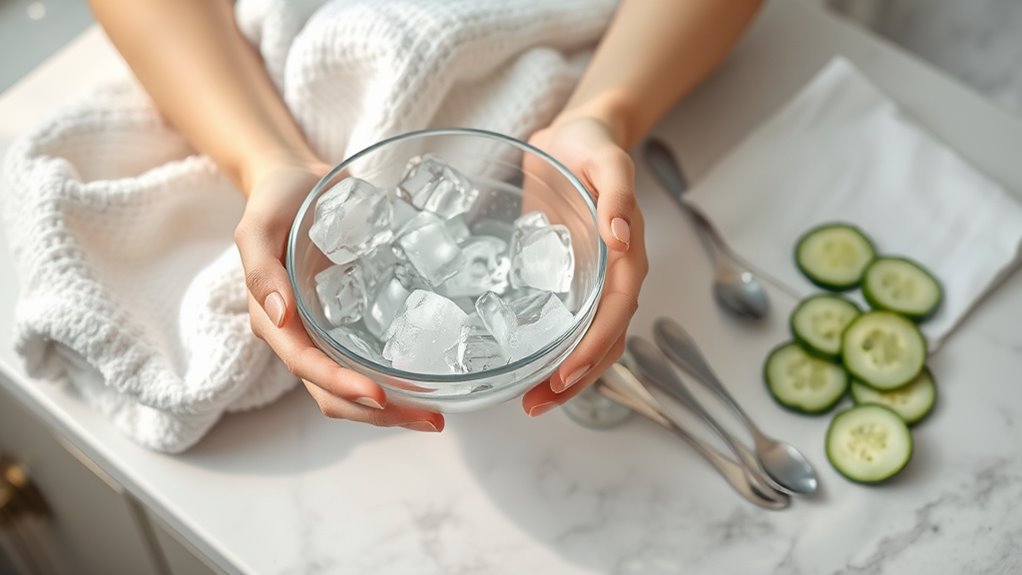
- Ice cubes in a sealed bag – prevent leaks and direct contact.
- Cold, damp towels – simple, natural, and safe.
Always avoid direct contact with extremely cold items like raw ice or frozen objects that aren’t properly sealed, as they can cause frostbite or skin damage. Prioritize household item selection to ensure your cryo facial remains safe and effective. Additionally, understanding the importance of contrast ratio can help you optimize your home setup to better visualize results during skin treatments.
Preparing Your Skin and Workspace

Preparing your skin and workspace sets the foundation for a safe and effective cryo facial. Start by cleansing your skin thoroughly to remove dirt, oils, and makeup, reducing the risk of irritation. Consider cultural considerations, such as skincare routines and sensitivities, to tailor the process appropriately. Clear your workspace of clutter and ensure good ventilation to minimize environmental impacts. Use clean towels and tools to prevent contamination. Keep household items like ice or cold packs nearby, and have a timer ready to monitor exposure times. Taking these steps helps prevent accidental injuries and ensures a hygienic environment. Being mindful of cultural practices and environmental impacts promotes responsible and respectful DIY skincare, making your cryo facial safer and more effective. Additionally, understanding the environmental impacts of using household cooling methods can help you choose more sustainable options.
Step-by-Step Guide to Performing a DIY Cryo Facial

Now, you’re ready to gather your supplies and prepare for the procedure. Make sure everything is clean and within reach before you start. Once you’re set, follow the steps carefully to perform your DIY cryo facial safely and effectively. To enhance the experience, consider using proper safety precautions, such as avoiding prolonged contact with the skin to prevent frostbite or skin irritation.
Preparing Your Supplies
Before you start your DIY cryo facial, gather all necessary supplies to guarantee a smooth process. Proper preparation ensures safe cold therapy and effective skin preparation. Here’s what you’ll need:
- A cold source, like a sealed bag of frozen peas or ice packs
- Clean, soft cloth or towel for skin protection
- Gentle cleanser to prep your skin beforehand
- Timer or clock to monitor cold exposure
Make sure the cold source is wrapped in a cloth to prevent direct contact with your skin, reducing the risk of frostbite. Clear your workspace and wash your hands thoroughly. Having everything ready minimizes interruptions and ensures you perform the facial safely and effectively, maximizing benefits while protecting your skin during this cold therapy process.
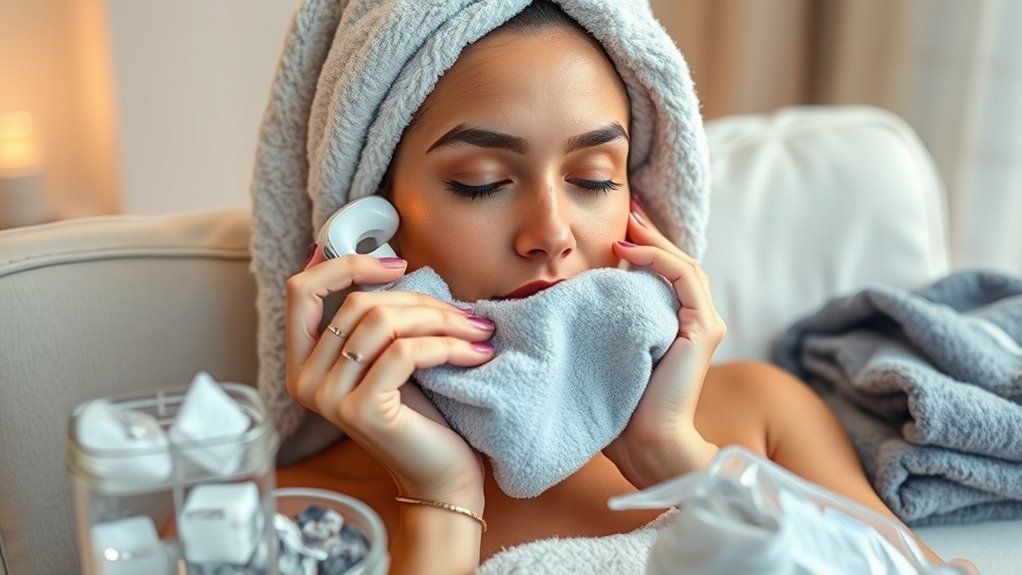
Executing the Procedure
Start by cleansing your face with a gentle cleanser to remove dirt, oil, and makeup. Next, wrap an ice pack in a soft cloth to prevent direct contact and apply it evenly across your face for 2-3 minutes. This step helps tighten pores and reduce inflammation. Afterward, place a facial mask suited for your skin type, ensuring it’s clean and dry. For added cooling, you can chill your facial mask beforehand. Use the ice pack again on your face for another 2 minutes, focusing on areas needing extra attention. Here’s a quick guide:
| Step | Action | Duration |
|---|---|---|
| 1 | Cleanse face | 1 minute |
| 2 | Apply ice pack | 2-3 minutes |
| 3 | Apply facial mask | 10-15 minutes |
| 4 | Final cooling with ice pack | 2 minutes |
Additionally, understanding cryo facial benefits can enhance your skincare routine and help you achieve better results.
Monitoring Skin Response and Recognizing Warning Signs

As you perform a DIY cryo facial, pay close attention to how your skin feels during the treatment. Notice any unusual sensations, like excessive cold or burning, which could indicate overcooling. Recognizing these warning signs early helps prevent skin damage and guarantees a safe experience. Staying informed about skin health can further guide you in identifying abnormal reactions.
Skin Sensation Changes
Monitoring how your skin responds during a cryo facial is essential to guarantee safety and effectiveness. You might notice early skin sensation changes like:
- Numbing sensations that dull your usual feeling
- Tingling feelings that come and go
- Slight warmth or coldness in targeted areas
- Mild discomfort or itching
These sensations are normal if they’re brief and not intense. However, persistent numbness or sharp pain can signal overcooling. Always pay attention to how your skin feels, and don’t ignore warning signs. If sensations become uncomfortable or abnormal, stop immediately. Recognizing these signs helps prevent skin damage and ensures you get the benefits safely. Staying attentive to your skin’s response is your best safeguard during a DIY cryo facial. Incorporating mindful observation can also help you avoid clutter buildup and maintain a more organized skincare routine.
Signs of Overcooling
Paying close attention to how your skin reacts during a cryo facial helps prevent overcooling. Recognizing warning signs early ensures you can stop the treatment before damage occurs. Symptoms like excessive numbness, persistent redness, or a pale, waxy appearance indicate overcooling. If you notice these signs, follow emergency procedures immediately: remove the cold source, warm the skin gently, and seek medical help if needed. Use this table to understand symptom importance:
| Symptom | Emergency Procedure |
|---|---|
| Excessive numbness | Remove cold source, warm skin gradually |
| Persistent redness | Stop treatment, gently rewarm with a cloth |
| Pale, waxy skin | Cease treatment, warm area carefully |
| Blistering or skin damage | Seek medical attention immediately |
| Discomfort beyond tolerable | End session, rewarm, monitor skin closely |
Additionally, understanding the mechanics of pinball machines can be helpful if you’re interested in integrating fun and safety into your home entertainment setup, especially when considering electronic components that may require proper handling and maintenance.
Post-Treatment Care and Skin Moisturization
Wondering how to keep your skin glowing after a cryo facial? Proper post-treatment care is key. Focus on these four steps to maximize your results:
- Keep your skin hydrated with regular hydration routines, drinking plenty of water.
- Gently cleanse your face with a mild cleanser to remove any residue.
- Choose a moisturizer suited to your skin type—look for calming, hydrating ingredients.
- Avoid harsh skincare products and sun exposure for at least 24 hours.
- Remember that skin health is an ongoing process that benefits from consistent care and attention.
These practices help soothe your skin and lock in moisture. Selecting the right moisturizer ensures your skin stays nourished and refreshed. Consistent hydration routines and proper moisturizer selection are essential to maintain the benefits of your DIY cryo facial and keep your skin radiant.
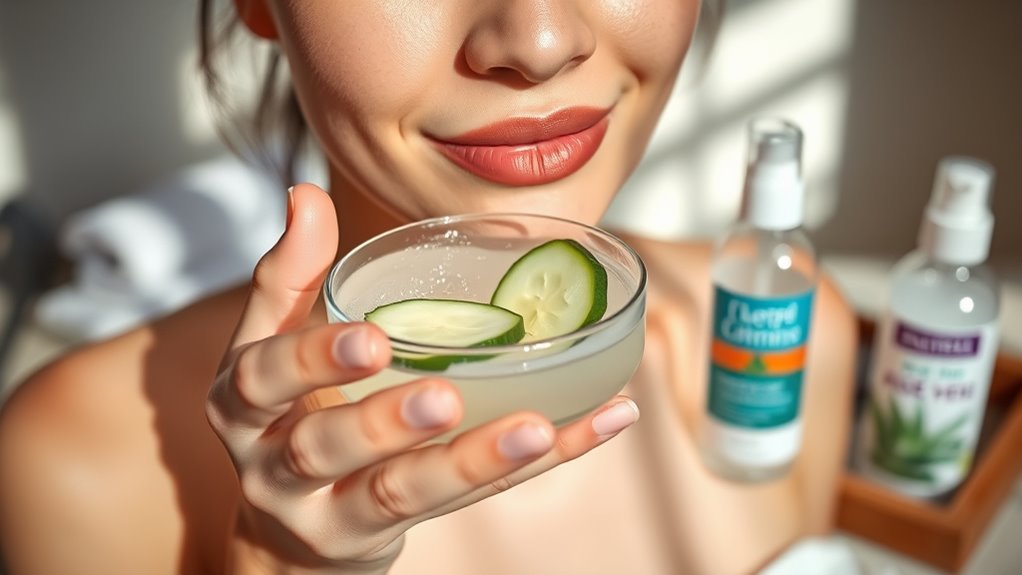
Tips for Ensuring Safety and Effectiveness at Home
To guarantee your DIY cryo facial delivers safe and effective results at home, it’s important to follow best practices and stay vigilant. Prioritize DIY safety by thoroughly researching procedures and avoiding overly cold household alternatives that might cause skin damage. Use gentle, naturally cooling items like chilled cucumbers or cold compresses instead of extreme cold sources. Always test any household alternative on a small skin patch first to check for adverse reactions. Keep the treatment time brief, usually no longer than a few minutes, and never apply ice directly to your skin. Stay attentive to your skin’s response, and if you notice redness or discomfort, stop immediately. Incorporating lifestyle habits such as proper skincare routines can help maintain your skin’s health and enhance the benefits of your facial. Following these tips helps ensure your DIY cryo facial remains both safe and effective.
Frequently Asked Questions
How Often Can I Safely Perform a DIY Cryo Facial?
You’re wondering how often you can safely perform a DIY cryo facial. Generally, it’s best to limit sessions to once every two to four weeks, respecting your skin’s sensitivity and avoiding overexposure. Pay close attention to how your skin reacts, and don’t push past the recommended frequency limits. If you notice irritation, redness, or discomfort, extend the interval and consult a skincare professional to guarantee safety.
Are There Specific Skin Types That Should Avoid Cold Therapy?
Think of your skin as a delicate garden; some plants thrive in the cold, others wilt. If you have sensitive skin or rosacea flare-ups, cold therapy might be too harsh, risking irritation or redness. You should avoid cold treatments to protect your skin’s harmony. Always listen to your skin’s signals and consult a dermatologist before trying DIY cryo facials, ensuring your skin stays healthy and balanced.
Can I Use Alternative Household Items if I Run Out of Supplies?
If you run out of supplies, you might consider homemade alternatives, but always prioritize household safety. Avoid using items not intended for cold therapy, like frozen vegetables or ice packs directly on skin, as they can cause frostbite. Instead, wrap ice in a soft cloth or use a chilled, damp cloth. Never apply extreme cold directly to your skin to prevent damage. When in doubt, consult a professional before trying homemade remedies.
What Are the Long-Term Effects of Repeated At-Home Cryo Facials?
Repeated at-home cryo facials can impact your skin over time, potentially reducing skin elasticity if done excessively. You might also notice increased nerve sensitivity, leading to discomfort or irritation. While occasional treatments may be safe, overdoing it risks long-term damage. It is crucial to monitor your skin’s response and avoid prolonged exposure. Always prioritize safety, and consider consulting a professional to prevent adverse effects and maintain healthy skin.
How Do I Dispose of or Store Household Items Used for Cold Therapy?
Oh, the thrill of household storage and proper disposal—like a secret mission! You should label cold packs and store them in a cool, dry place away from children. When it’s time to toss, follow local guidelines for proper disposal—don’t just toss them in the trash without checking. Recycling might be an option for some items. Always prioritize safety and keep these items out of reach to avoid surprises!
Conclusion
Remember, a DIY cryo facial can be a game-changer for your skin, but safety is key. By following proper steps and listening to your skin’s signals, you can access the amazing rejuvenating powers of cold therapy right at home. Think of it as harnessing the icy magic of a winter wonderland—without the frostbite! Stay cautious, be mindful, and your skin will thank you for the glow that’ll shine brighter than the Northern Lights.