
To do a DIY ice facial at home, start by freezing herbal teas, infused water, or antioxidant-rich liquids into ice cubes. Wash your face thoroughly and pat it dry, leaving it slightly damp. Wrap the ice in a soft cloth or use a facial roller and gently glide it over your skin in upward, circular motions for 1-2 minutes per area. Be gentle and avoid sensitive spots. Continue on to discover tips for maximizing your skin benefits and safe techniques.
Key Takeaways
- Prepare ice cubes using plain water, herbal teas, or infused water, and freeze until solid.
- Cleanse your face thoroughly, then pat dry, leaving skin slightly damp for better contact.
- Wrap ice in a soft cloth or use a facial roller to prevent direct contact and irritation.
- Gently glide the wrapped ice or roller in upward, circular motions across the face for 1-2 minutes per area.
- Limit sessions to avoid overexposure, monitor skin response, and stop if irritation occurs.
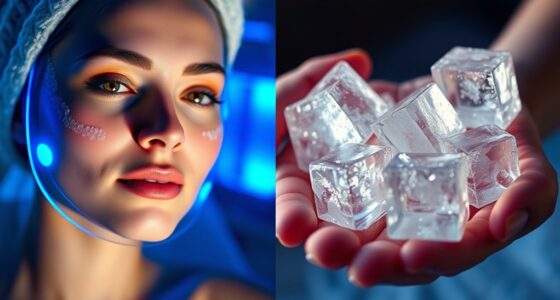
An ice facial is a simple, invigorating way to revitalize your skin and boost its natural glow right at home. This revitalizing treatment offers numerous skincare benefits, including reducing inflammation, tightening pores, and improving circulation. When you incorporate an ice facial into your routine, you give your skin a quick boost that leaves you feeling refreshed and rejuvenated. To maximize these benefits, it’s helpful to follow some ice facial tips that ensure you get the most out of your experience while keeping your skin safe and healthy.
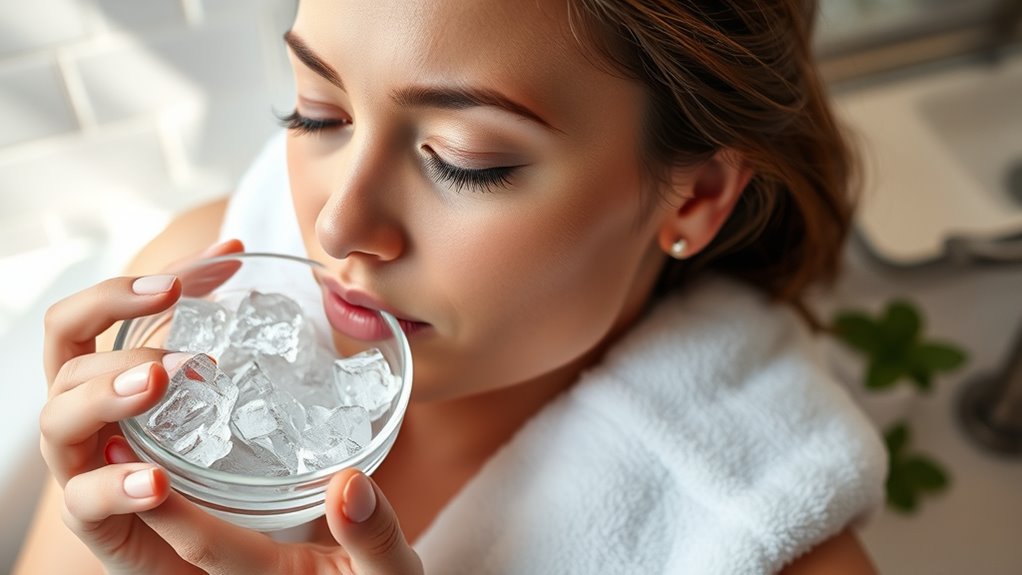
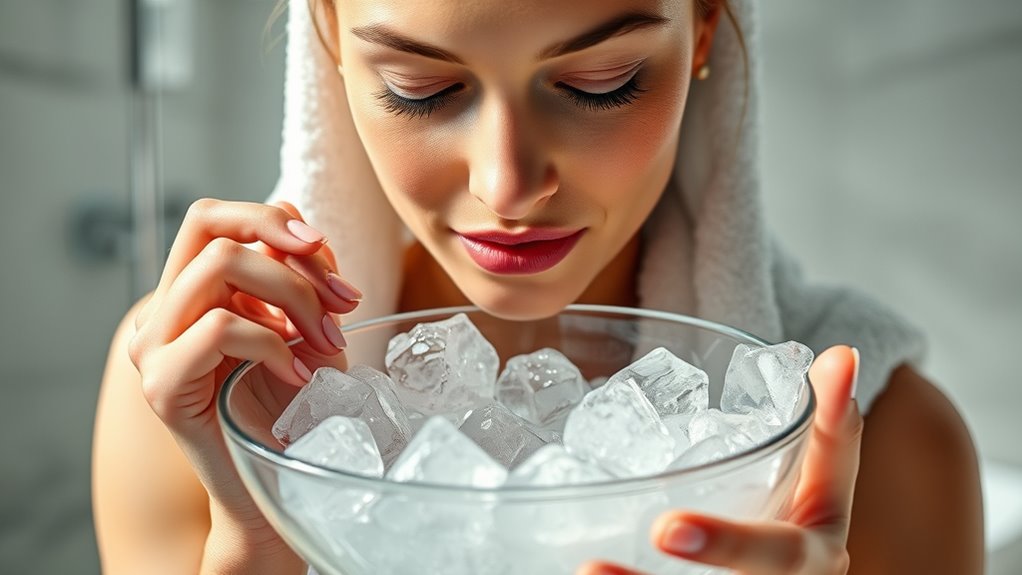
Start by preparing your ice. You can use plain water, but for added skincare benefits, consider freezing herbal teas, green tea, or water infused with calming ingredients like chamomile or cucumber. These additions can enhance the soothing effects and offer extra antioxidants to your skin. Once your ice cubes are ready, wash your face thoroughly to remove dirt and excess oils. Pat your skin dry, but leave it slightly damp for better contact with the ice.
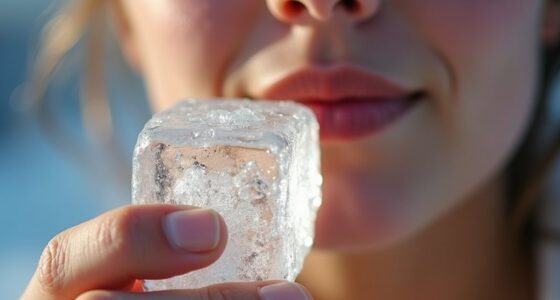
When performing the ice facial, wrap the ice cube in a soft cloth or use a clean, cold facial roller to prevent direct contact, which can be too harsh for sensitive skin. Gently glide the ice or roller across your face in upward, circular motions, focusing on areas prone to oiliness or dullness, like the T-zone or cheeks. Keep the movements light and avoid pressing too hard—your goal is to stimulate blood flow and tighten pores without causing irritation. Typically, spending about 1-2 minutes per area is sufficient to feel the benefits without overdoing it.
Frequently Asked Questions
Can I Use Tap Water for My Ice Facial?
Using tap water for your ice facial is possible, but consider water quality and skin sensitivity. Tap water may contain minerals or impurities that could irritate sensitive skin. If your water quality is good and you have resilient skin, it might be fine. However, to minimize risks, it’s better to use filtered or distilled water, especially if your skin tends to be sensitive, ensuring a safer, more soothing facial experience.
How Often Should I Perform an Ice Facial?
You should perform an ice facial about 1 to 2 times a week to promote healthy skin renewal. Overdoing it can irritate your skin or cause redness. Stick to this frequency to enjoy benefits like tightened pores and improved circulation without risking damage. Listen to your skin’s response; if it feels sensitive or irritated, cut back on the frequency to keep your skin healthy and refreshed.
Are There Any Skin Types That Shouldn’t Do Ice Facials?
You shouldn’t do ice facials if you have extremely sensitive skin or certain skin conditions like eczema, rosacea, or psoriasis, as the cold can trigger flare-ups or irritation. People with compromised skin barriers are also at risk of damaging their skin further. If you’re unsure, it’s best to consult a dermatologist before trying this icy beauty hack, because your skin deserves the royal treatment, not a cold shock!
How Long Should Each Ice Facial Session Last?
You should aim for each ice facial session to last about 3 to 5 minutes, following general duration guidelines. Keep the ice moving gently over your skin and avoid staying in one spot too long. For best results, limit sessions to 2-3 times a week, allowing your skin time to recover. Always listen to your skin’s response and adjust session length and frequency accordingly to prevent irritation.
Can I Add Ingredients Like Herbs or Essential Oils to the Ice?
You can definitely add herbs or essential oils to your ice cubes, turning your facial into a fragrant garden. Think of herbal infusions and essential oils as the spice of your skincare routine—they enhance benefits and aroma. Just a few drops of essential oils or a handful of herbs in water before freezing will do. Remember, use skin-safe oils and dilute them properly to avoid irritation and enjoy a soothing, personalized facial experience.
Conclusion
Now that you’ve mastered the simple art of a DIY ice facial, you can enjoy spa-like luxury without leaving your home. It’s a cool, invigorating escape from the everyday hustle—chilly, yes, but invigorating too. Think of it as a tiny winter wonderland on your face, contrasting the warmth of your busy life. So, embrace the freeze, refresh your skin, and let this icy treat bring a fresh glow to your day.