
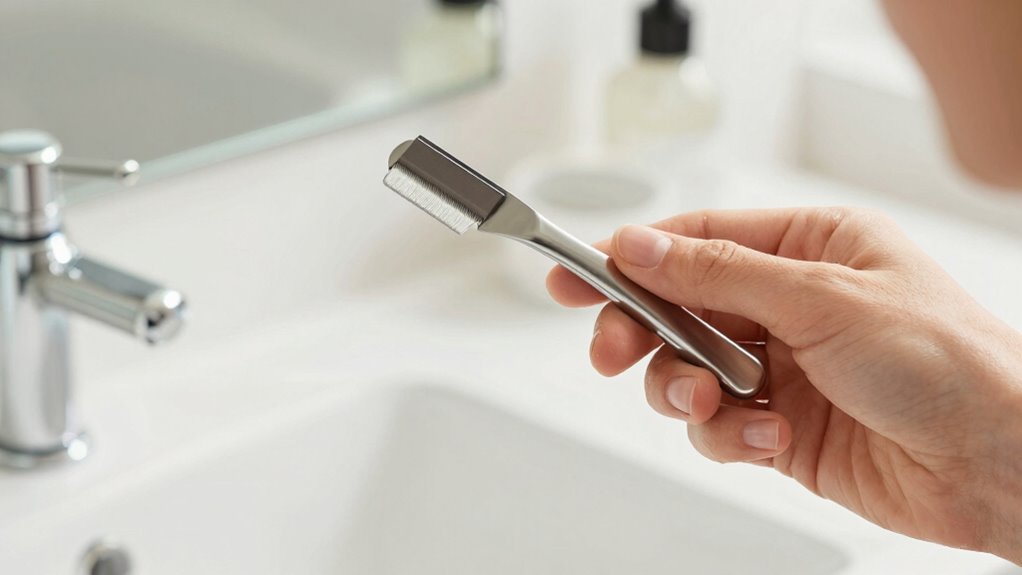
To prevent irritation during at-home dermaplaning, hold the blade at a steady 45-degree angle against your skin. This guarantees efficient removal of dead skin without damaging healthy tissue. Keep the blade sharp, avoid pressing too hard, and maintain a consistent grip throughout your routine. Proper technique minimizes nicks and irritation, giving you smoother skin. If you want to learn more about achieving safe, effective results, keep exploring ways to perfect your technique.
Key Takeaways
- Hold the dermaplaning blade at a consistent 45-degree angle against your skin for safe, effective exfoliation.
- Maintain a steady hand and gentle pressure to prevent nicks and irritation during at-home dermaplaning.
- Keep your skin well-hydrated to allow the blade to glide smoothly and reduce the risk of irritation.
- Regularly replace dull blades to ensure a clean, sharp edge that minimizes skin trauma.
- Stop immediately if you experience irritation or nicks, and give your skin time to recover before next treatment.
How to Find the Correct Dermaplaning Blade Angle for Safety
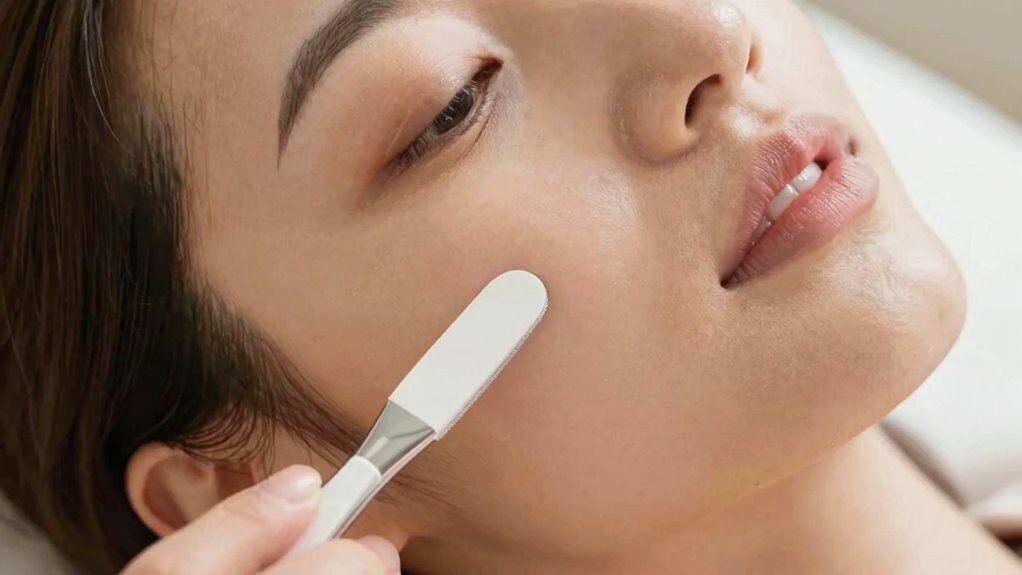
Finding the correct dermaplaning blade angle is essential for safe and effective at-home treatments. Start with proper skin preparation by cleansing your face to remove oils and dirt, ensuring a smooth surface. Before using the blade, check your blade maintenance routine—replace dull blades regularly to prevent irritation. Hold the blade at a 45-degree angle against your skin; this angle allows for precise hair removal while minimizing skin trauma. Keep the blade steady and avoid pressing too hard, as applying excessive pressure can cause nicks or irritation. Maintaining the right angle not only improves results but also protects your skin from unnecessary damage. Additionally, understanding skin sensitivity can help you tailor your dermaplaning routine for optimal safety. Using the correct piercing aftercare techniques, such as gentle cleansing and avoiding irritants, can also contribute to healthier skin post-treatment. Proper blade maintenance and regular inspections are vital for preventing dullness and maintaining effectiveness. Remember, a well-maintained blade and proper skin prep are key to a safe, comfortable dermaplaning experience. Being aware of proper technique can further enhance your results and reduce the risk of irritation.
Common Mistakes When Holding Your Blade and How to Avoid Them
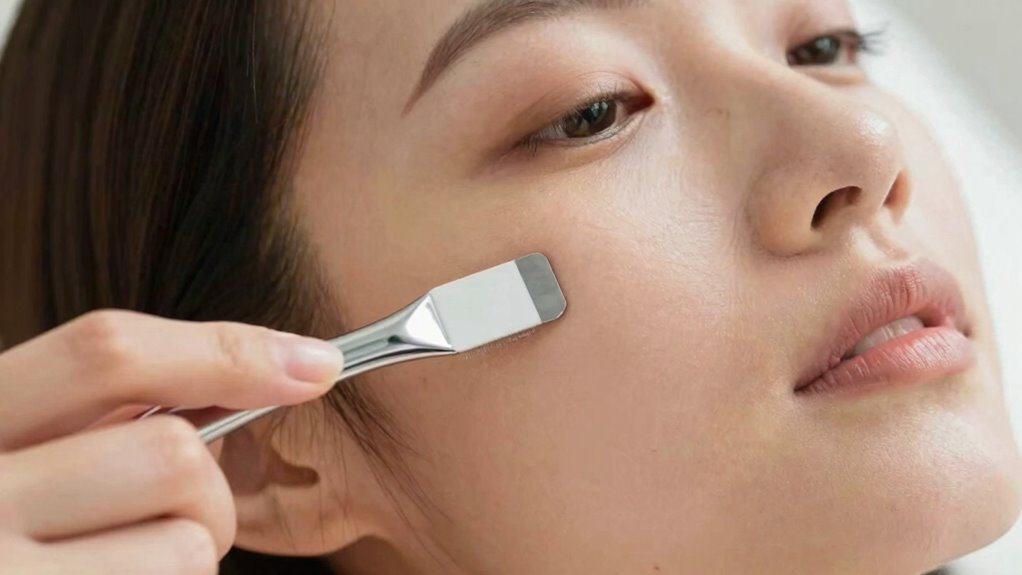
Holding your dermaplaning blade correctly can make the difference between a smooth, safe shave and skin irritation or cuts. One common mistake is gripping the blade too tightly, which can cause uneven pressure and nicks. Always hold the blade with a light, controlled grip to maintain precision. Poor blade maintenance, like using a dull blade, increases the risk of irritation, so replace or sharpen your blade regularly. Proper skin preparation is essential; skipping cleansing or not moisturizing can lead to tugging and irritation. Avoid holding the blade at an incorrect angle or pressing too hard, which can cause cuts or skin damage. Taking these precautions ensures a safer, more effective dermaplaning experience at home.
Why the Right Angle Prevents Irritation and Nicks During Dermaplaning

Using the correct angle during dermaplaning is essential to prevent irritation and nicks. Holding the blade at the right angle ensures you remove dead skin efficiently without damaging healthy tissue. When you maintain this proper angle, you minimize unnecessary pressure, which helps avoid cuts and irritation. Consistent blade maintenance is also vital because dull blades require more force, increasing the risk of nicks. After dermaplaning, your skincare post should focus on soothing products to reduce inflammation and support healing. Proper technique and blade care work together to create a safe, effective routine, helping you achieve smooth, radiant skin without discomfort. Remember, mastering the right angle is key to a comfortable dermaplaning experience at home.
Tips for Keeping Your Blade at the Right Angle Throughout Your Routine
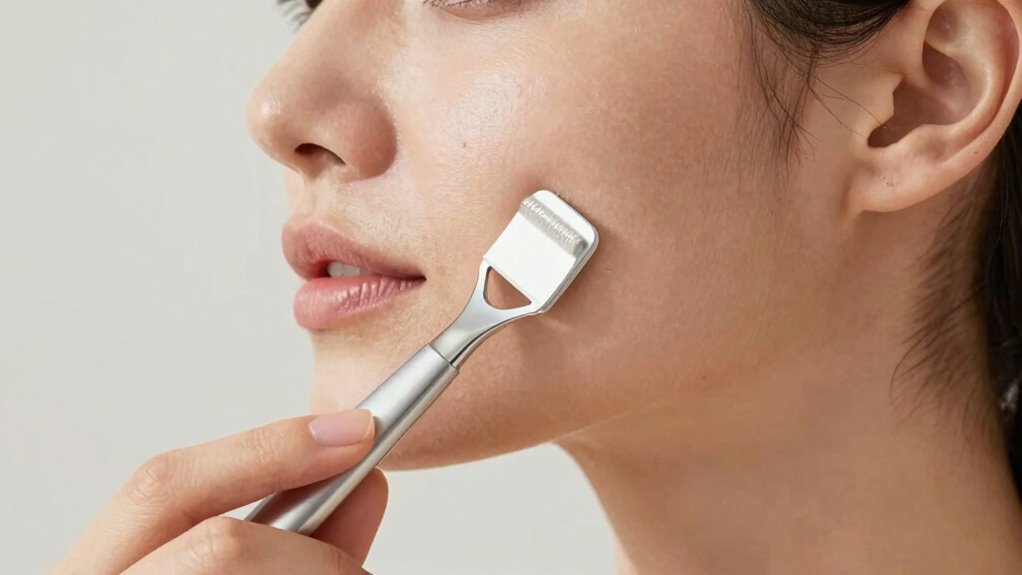
To keep your blade at the right angle throughout your dermaplaning routine, focus on maintaining a steady hand and consistent pressure. Properly hydrated skin helps the blade glide smoothly, reducing the risk of nicks, while a sharp blade ensures effective exfoliation. Regularly check your grip, keeping your wrist steady and your movements controlled. Remember, a slight tilt is enough—don’t force the blade; let skin hydration and blade sharpness do the work. Being aware of vetted techniques can also help prevent irritation and achieve the best results. Additionally, understanding fan culture can provide insights into how community practices influence skincare routines and industry standards. Practicing proper technique and staying informed about skincare safety are essential for a safe dermaplaning experience. Being mindful of technique consistency can further enhance your safety and effectiveness during each session. Maintaining a step-by-step approach helps ensure each pass is controlled and reduces the chance of mishaps.
What Should You Do If You Experience Irritation or Nicks?
If you notice irritation or nicks after dermaplaning, it’s important to act quickly to minimize discomfort and prevent further damage. First, stop using the blade and replace it if it’s dull or damaged, as a fresh blade reduces the risk of additional irritation. Gently rinse your face with cool water to soothe the skin, then apply a calming, skin soothing serum or moisturizer to reduce redness and inflammation. Avoid scrubbing or picking at the area, and steer clear of harsh skincare products until the skin heals. Keep the affected area clean and protected, and give your skin time to recover before your next session. Proper blade replacement and gentle skin soothing are key to preventing irritation and maintaining healthy, smooth skin. Additionally, consider calibration of your tools and techniques to ensure optimal results and minimize skin irritation.
Frequently Asked Questions
Can I Use Dermaplaning Tools on Sensitive Skin Types?
Yes, you can use dermaplaning tools on sensitive skin, but you need to be extra gentle. Use a very shallow angle to avoid irritation and focus on gentle exfoliation. Always test a small area first and don’t overdo it, as sensitive skin can react easily. Keep your tools clean, use a soothing moisturizer afterward, and listen to your skin’s response to prevent any adverse reactions.
How Often Should I Dermaplane at Home Safely?
You should dermplane at home about every three to four weeks, depending on your skin sensitivity. For sensitive skin, follow the frequency guidelines carefully to prevent irritation or damage. Always listen to your skin’s response; if you notice redness or discomfort, extend the interval between sessions. Using proper technique and gentle pressure helps avoid over-exfoliation, ensuring your skin remains smooth and healthy without risking irritation.
What Are the Signs of Improper Technique During Dermaplaning?
If you notice dull blade edges or uneven removal of vellus hair and dead skin, your technique might be off. Signs include dragging the blade, applying excessive pressure, or missing spots. You could also experience redness or irritation afterward. To prevent this, make sure your blade is sharp, maintain a proper angle, and use gentle, controlled strokes. Regularly inspect your blade for dullness, and avoid overdoing it to keep your skin safe.
Should I Moisturize Immediately After Dermaplaning?
Did you know that 80% of skincare professionals recommend moisturizing immediately after dermaplaning? Yes, you should apply moisturizer right after your session. It benefits your skin by providing essential post-treatment hydration, calming irritation, and locking in moisture. Using a gentle, hydrating moisturizer helps your skin recover faster and prevents dryness. Just guarantee your skin is clean and avoid harsh products to maximize the benefits of post-treatment hydration.
Is Dermaplaning Suitable for Acne-Prone Skin?
Yes, dermaplaning can be suitable for acne-prone skin if done carefully. It helps minimize pores and provides excellent exfoliation benefits, which can improve skin texture and clarity. However, you should use gentle tools and avoid aggressive pressure to prevent irritation. Always consult a dermatologist before starting at-home dermaplaning, especially if your skin is sensitive or prone to breakouts, to guarantee safe and effective results.
Conclusion
Think of your dermaplaning routine as steering a delicate boat through calm waters—you need the right angle to glide smoothly. When you maintain the correct blade position, you prevent irritation and nicks, making your skincare journey safe and effective. Stay attentive to your technique, and if irritation occurs, pause and adjust your approach. With practice, you’ll navigate your dermaplaning routine confidently, transforming your skin into a shining vessel sailing effortlessly toward a radiant glow.